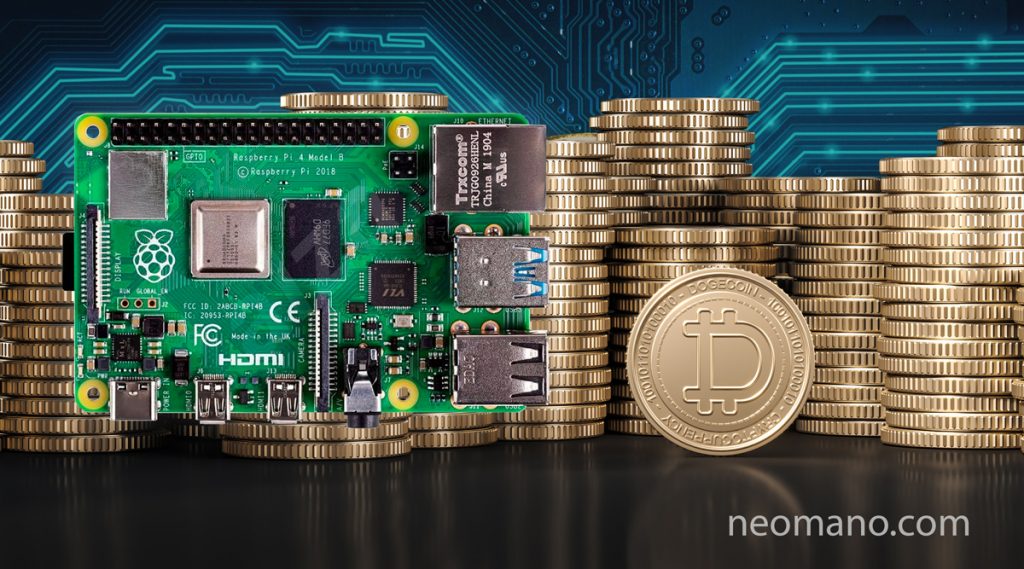
Ready, I got a new toy, a brand new Raspberry Pi 4 with 4GB of RAM and it occurred to me to use it to demonstrate that it can be mined. Of course, at the demonstrative level nothing else, because with all the offer of ASICs for undermine cryptocurrencies And with all the computational power currently required, we won't get much juice out of this "fruit." But it's worth doing and learning, whether it's for pennies… or nothing.
As always I leave a link of exactly the item I bought, for those who are interested in using the same hardware.
1) Install 64-bit Operating System
There are many alternatives of operating systems for the Raspberry Pi 4, but it is VERY important to do it with a native 64-bit system and here the options are already reduced a lot. There are currently only a few 64 bit OS options for Raspberry Pi 4 and I will choose Ubuntu and its most recent stable version 20.04.
I have seen that most experiments use a 32-bit operating system and mount a kind of 64-bit container in it, this is certainly not optimal and will reduce the mining potential.
We will download the installer of the route here. We will choose the version for Server and not for Desktop. For me, the simple fact of installing a graphical interface reduces the mining capacity. We are also going to select the TLS version, because this will give us the advantage of finding updates until 2025! Let's get to the point.

The next thing is to burn a microSD card. Important that it is Class 10 or higher and at least 8GB. I will do it with a 32GB one, I also leave a link.
To burn the Ubuntu "image", previously downloaded, on the microSD card we will use a "burner" software. On Mac I use BelenaEtcher, a free software, but there are many options out there. BalenaEtcher seems comfortable to me and can be used from almost any operating system.
In the Balena interface we choose the "image" to burn and the microSD (which must be connected) and that's it, it's a matter of waiting a couple of minutes and we have the microSD ready to connect it to the Raspberry Pi 4.

Now it's just a matter of turning it on. Be careful to use a decent power USB-C charger; Mining is a CPU intensive task so it consumes more power than normal. I recommend that it be AT LEAST 3 amps. I also leave a link here that I use.
Entering by terminal or SSH
To enter by terminal or text console we must connect our Raspberry Pi to a screen. The easiest is to use the HDMI port. It will ask us for username and password. The default username and password is "ubuntu", both the username and password.
Once inside we must configure the network and connect our Raspberry to the Internet.
2) Install XMRig mining software
Same as in the previous article, where I explained how to use our laptop or pc to mine cryptocurrencies, here we will use the XMRig software to mine. Installing it requires that we download the code from the official GIT repository and compile the source files, but, in order not to stress ourselves with details, we can simply run the following lines of code from a text terminal on our Raspberry Pi. We can do it from an SSH terminal as well.
sudo apt-get install git build-essential cmake libuv1-dev libssl-dev libhwloc-devgit clone https://github.com/xmrig/xmrig.gitmkdir xmrig / build && cd xmrig / buildcmake ..make -j$ (nproc)
In the end we will have XMRig installed and ready to go.
3) Configure XMRig
The best way to configure XMRig is to use a configuration file in the same path as the executable. This file is in JSON format and we can download a sample file from here.
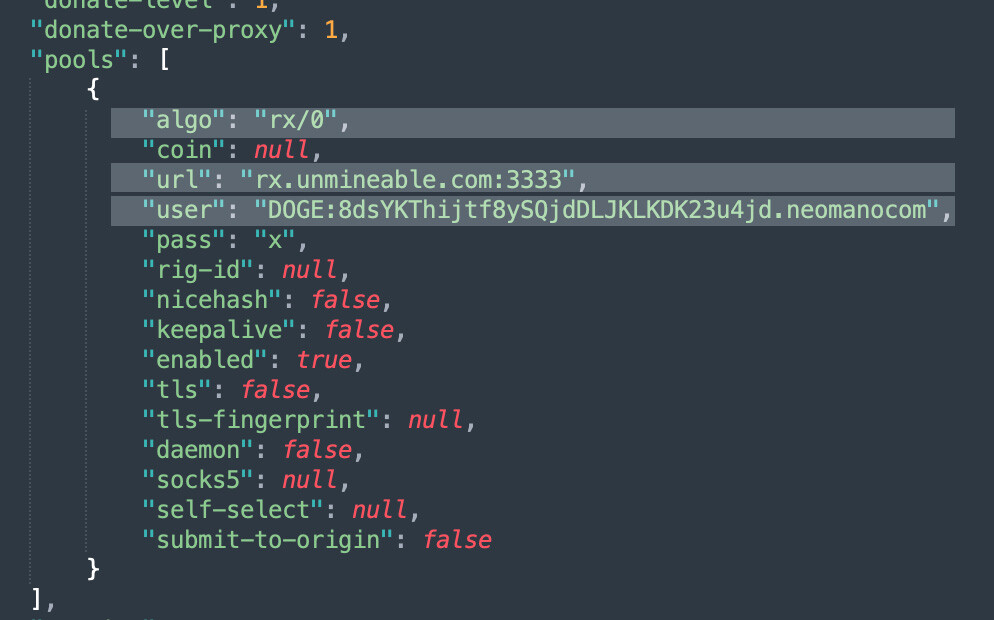
We are going to configure this file in a similar way to how we did it in the previous article. The 3 lines that we are interested in changing are those shown in the following figure. To understand what they mean, let's refer to point 4 of the aforementioned article, about how to mine Dogecoins on a laptop.

Now we simply run the xmrig command. I'll show my way out here.

At this point, we are already mining. I repeat, it is not necessarily something profitable, the hashrate no es incluso suficiente para poder recuperar la pequeña inversión de un Raspberry Pi y sus accesorios, pero es al menos bueno para propósitos didácticos. En próximos días probaré añadir un buen disipador de calor, hacer overclocking, habilitar OpenCL (para usar el GPU) y realizar algunos trucos más para ver hasta dónde se puede exprimir esta pieza de hardware y ponerla al límite de su capacidad, pero por ahora ya estamos minando sobre un Raspberry Pi 4. Ya les contaré.


